


Nothing on the fireground is more unsettling than realizing your primary exit is gone.
That’s why you carry a Personal Escape System (PES) and—more importantly—why you drill with it until using it feels as automatic as masking up.
In this guide you’ll learn exactly how to train with your PES so you can bail out quickly, safely, and confidently when seconds count.
What a Personal Escape System Actually Is
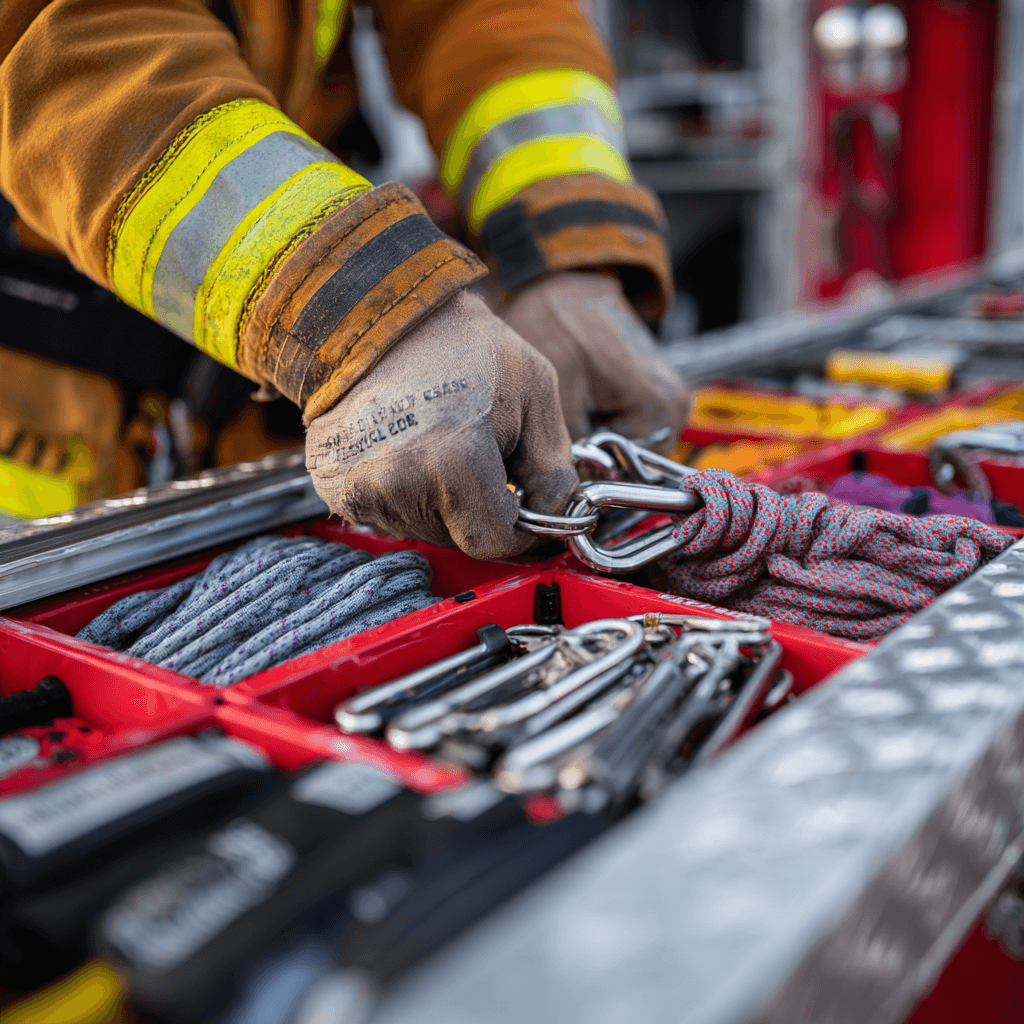
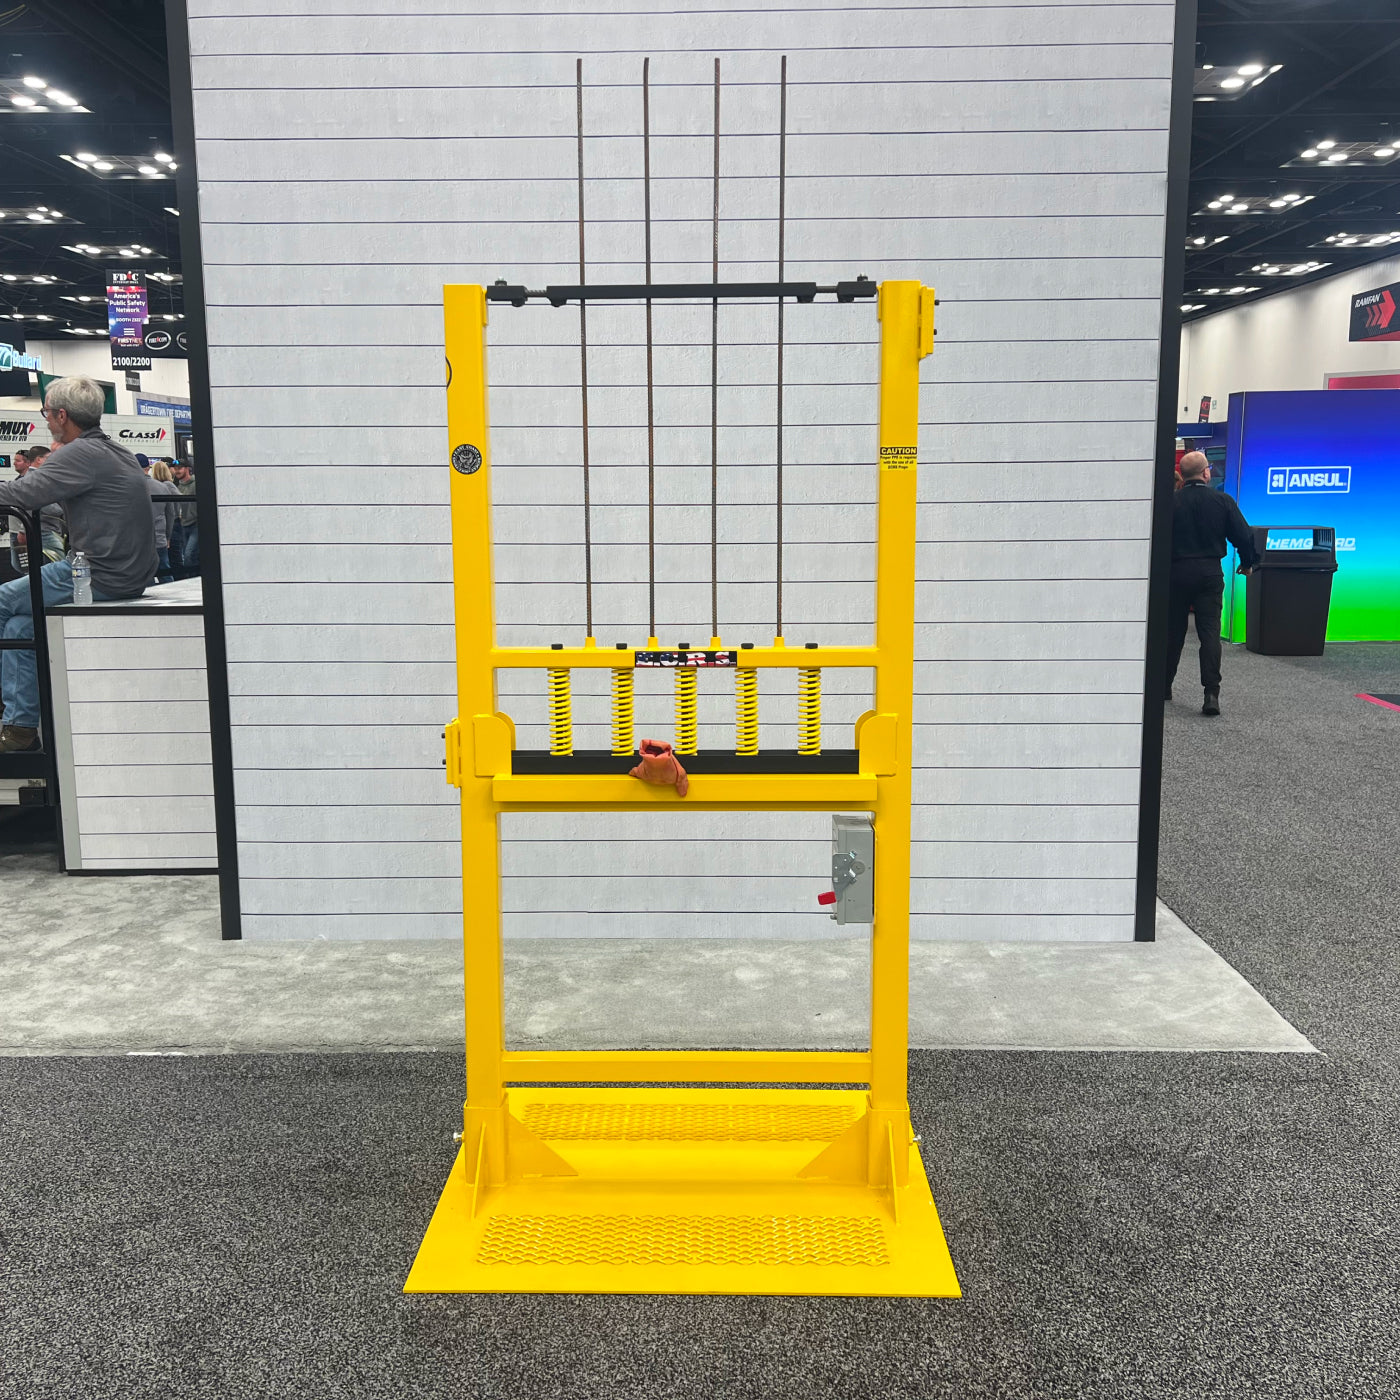
A modern PES is a compact, NFPA 1983-compliant “last-resort” bailout kit. Although brands and models vary, you can count on four core components:
-
Anchor hook – aluminum or steel, shaped to bite a variety of sills, joists, or structural members.
-
Descent device – friction or cam-assisted (e.g., Sterling FCX, CMC LEVR, Petzl EXO) that automatically locks off if you release the handle.
-
Lifeline – 7.5 mm–9 mm heat-resistant rope or webbing, often 40 ft–50 ft long.
-
Storage pouch – worn on your waist harness or inside turnout pockets for rapid deployment.
Your PES is engineered for one function: get you out of an untenable window or roof edge, feet first, under load, in full gear. Every second of training you invest translates directly into survival time on the fireground.
Why Training Matters More Than the Equipment Itself
-
Muscle memory under panic: When the room lights up, your dexterity plummets. Only drilled movement patterns stay accessible.
-
Decision-making speed: You must identify an anchor, clip in, and commit—often in under 15 seconds. Repetition removes hesitation.
-
Trust in the system: Confidence keeps you from second-guessing the gear, wasting precious time. You earn that trust on the drill tower, not the fireground.
-
Documented outcomes: NIOSH fatality reports routinely cite inadequate bailout training as a contributing factor. Departments that institutionalize quarterly PES drills show dramatically lower mayday rates.
Key Techniques for Effective PES Training
1. Dial In Your Anchor Point Selection
-
Know your building stock. Practice on wood-frame windowsills, brick parapets, steel I-beams—whatever your first-due territory offers.
-
Use the “push-pull” test. After hooking, push down to seat the hook and yank up to verify bite.
-
Remote vs. direct anchoring. Learn when to clip into furniture legs, plumbing, or secure wall studs if a window sill is compromised.
2. Perfect Body Position and Descent Control
-
Feet on the wall, knees slightly bent. This keeps your center of gravity low and reduces swing.
-
Look where you’re going. Glance down to monitor descent; avoid fixating on flames behind you.
-
Control friction. Squeeze the descent lever smoothly—jerky motions generate “rope surfing” and can melt gloves.
3. Master Your Descent Device
-
Dry-runs in gloves. Fine motor skills disappear in thick leather; train exactly how you’ll operate on scene.
-
Lock-off drills. Let go mid-descent to prove the auto-lock works before you trust it at height.
-
Variable-speed reps. Practice both a slow controlled drop (victim transfer) and an expedited bailout (< 5 seconds).
4. Execute Efficient Window Exits
-
Clear the opening. Strike, sweep, and sound: break the glass, sweep shards, confirm sill integrity.
-
Leg-first commitment. Throw your dominant leg out, hook it, and roll your body weight over the sill in one motion.
-
Snap-in, slide-out. Clip the hook, tension the line, then push off with the rear foot—no lingering in the opening.
Department-Wide Best Practices
|
Phase |
Objectives |
Action Steps |
|
Classroom |
Theory & inspection |
Gear nomenclature, NFPA 1983 basics, knot review, rope log maintenance |
|
Controlled Tower |
Baseline skills |
Waist-level windows, daylight, no smoke; focus on anchor selection, descent cadence |
|
Stress Integration |
Real-world difficulty |
Add blackout masks, artificial smoke, WUI heat panels, live-fire audio, timed evolutions |
|
Recertification |
Skill retention |
Require quarterly refreshers, annual full-gear qualifications, and post-incident debriefs |
Tip: Rotate instructors so members hear multiple voices and pick up nuanced techniques. Peer critiques keep complacency in check.
Common Mistakes to Avoid
-
Over-reliance on climbing experience. Sport rappelling techniques (hip rappel, seat harness) don’t translate to turnout-gear bulk and gloved hands.
-
Skipping anchor inspection. A paint-peeling sill won’t hold under a 250-lb load in turnout gear—test every anchor.
-
Infrequent drills. Anything less than quarterly reps leads to forgotten steps and panic under stress.
-
Tunnel vision. Keep scanning for secondary egress; your first choice may fail mid-descent.
Conclusion & Next Steps
Your Personal Escape System is your last lifeline when everything else fails—but only if you can deploy it flawlessly under extreme stress. Invest the time to:
-
Learn the gear. Understand every component, knot, and limitation.
-
Drill realistically. Crawl-walk-run from classroom to smoke-charged towers.
-
Recertify often. Quarterly reps keep muscle memory fresh and policies current.